Showing posts with label How To's. Show all posts

Wednesday, 25 July 2012

3 - Dot Liner

(Image via)

Sometimes you stumble across an image that totally sums up your mood.  This incredible mixed media work called Original Ombre Pink Peach Moon 1 by Adam Collier Noel is so beautiful and serves perfectly to inspire.  I'm very jealous of the lucky duck who snagged this to hang in their home!

(Image via)

This is so cool (in theory) it is the soon to be released Clarins 3 dot liner.  I have read mixed reviews about how people are using this product.  Some are saying it is for the novice to carry out a winged eyeliner whilst exercising mega caution, as in, drawing the whole line using a series of three dots and then filling in, not good practice and likely to end in an uneven shambles.  The other more realistic and exciting use is to work the product in the series of dots right in between your lashes, really thickening up the look of the lash line.  Then for more depth add your liquid eyeliner (see how to do that really easily here) on top resulting in very sultry eyes...you'd hope!
(Image via)

Another gorgeous product from upcoming the Autumn/winter 12 collection from Clarins is this limited edition colour accents face and bush palette, perfect for highlighting and contouring and adding a rosy glow to a wide variety of complexions.

(Image via)

And if it is as sunny where you are as we are in London right now (I am currently shooting at a really hot and sticky location), make some of this incredible Watermelon Agua Fresca.  It is unbelievably refreshing and really delicious, recipe here.  Or you could try these grown-up slushies that look equally as delicious but slightly more fun, recipe here!

Have a chilled day guys!


Tuesday, 6 December 2011

Festive Fishtail Braid


Fishtail braids look so complicated.  They are not! They are beautiful to look at, make you feel polished and together and are unbelievably simple to do.  Firstly, if you fancy, put a little bit of teasing in at the crown this is just to give some height and a nice silhouette to your final look. Then separate your hair roughly into two sections.


Take a small strand of hair from underneath one section and hand it over to the opposite section and then repeat the same process on the other side, continually passing a little piece of hair from underneath over to the other side and joining it into the original bunch.  The bigger the strands you pick the larger the, erm..scales? (yuck) in your fishtail braid will be. Keep doing this all the way down, easy huh?


Its even easier, if your hair is long enough to bring in front of you over your shoulder and braid downwards.  Keep repeating this process until your plait is the desired length, band up the end and you are ready to roll.   


I like to deconstruct this look a little bit and pull it apart with my fingers.  This makes the style a little more casual. (On the other hand you can really slick this do down and make it look super edgy and warrior like).  

Add a pout full of red lipstick and get your Christmas cocktail on!

(Thank you again gorgeous Leslie and Kye Corfield for his awesome photography skills! X)

Do you have a signature hairstyle? Do you have any plans for your hair and make up this party season? 

Don't forget to follow on twitter @56toRivington - Enjoy! 

Saturday, 15 October 2011

A Lengthy Addition

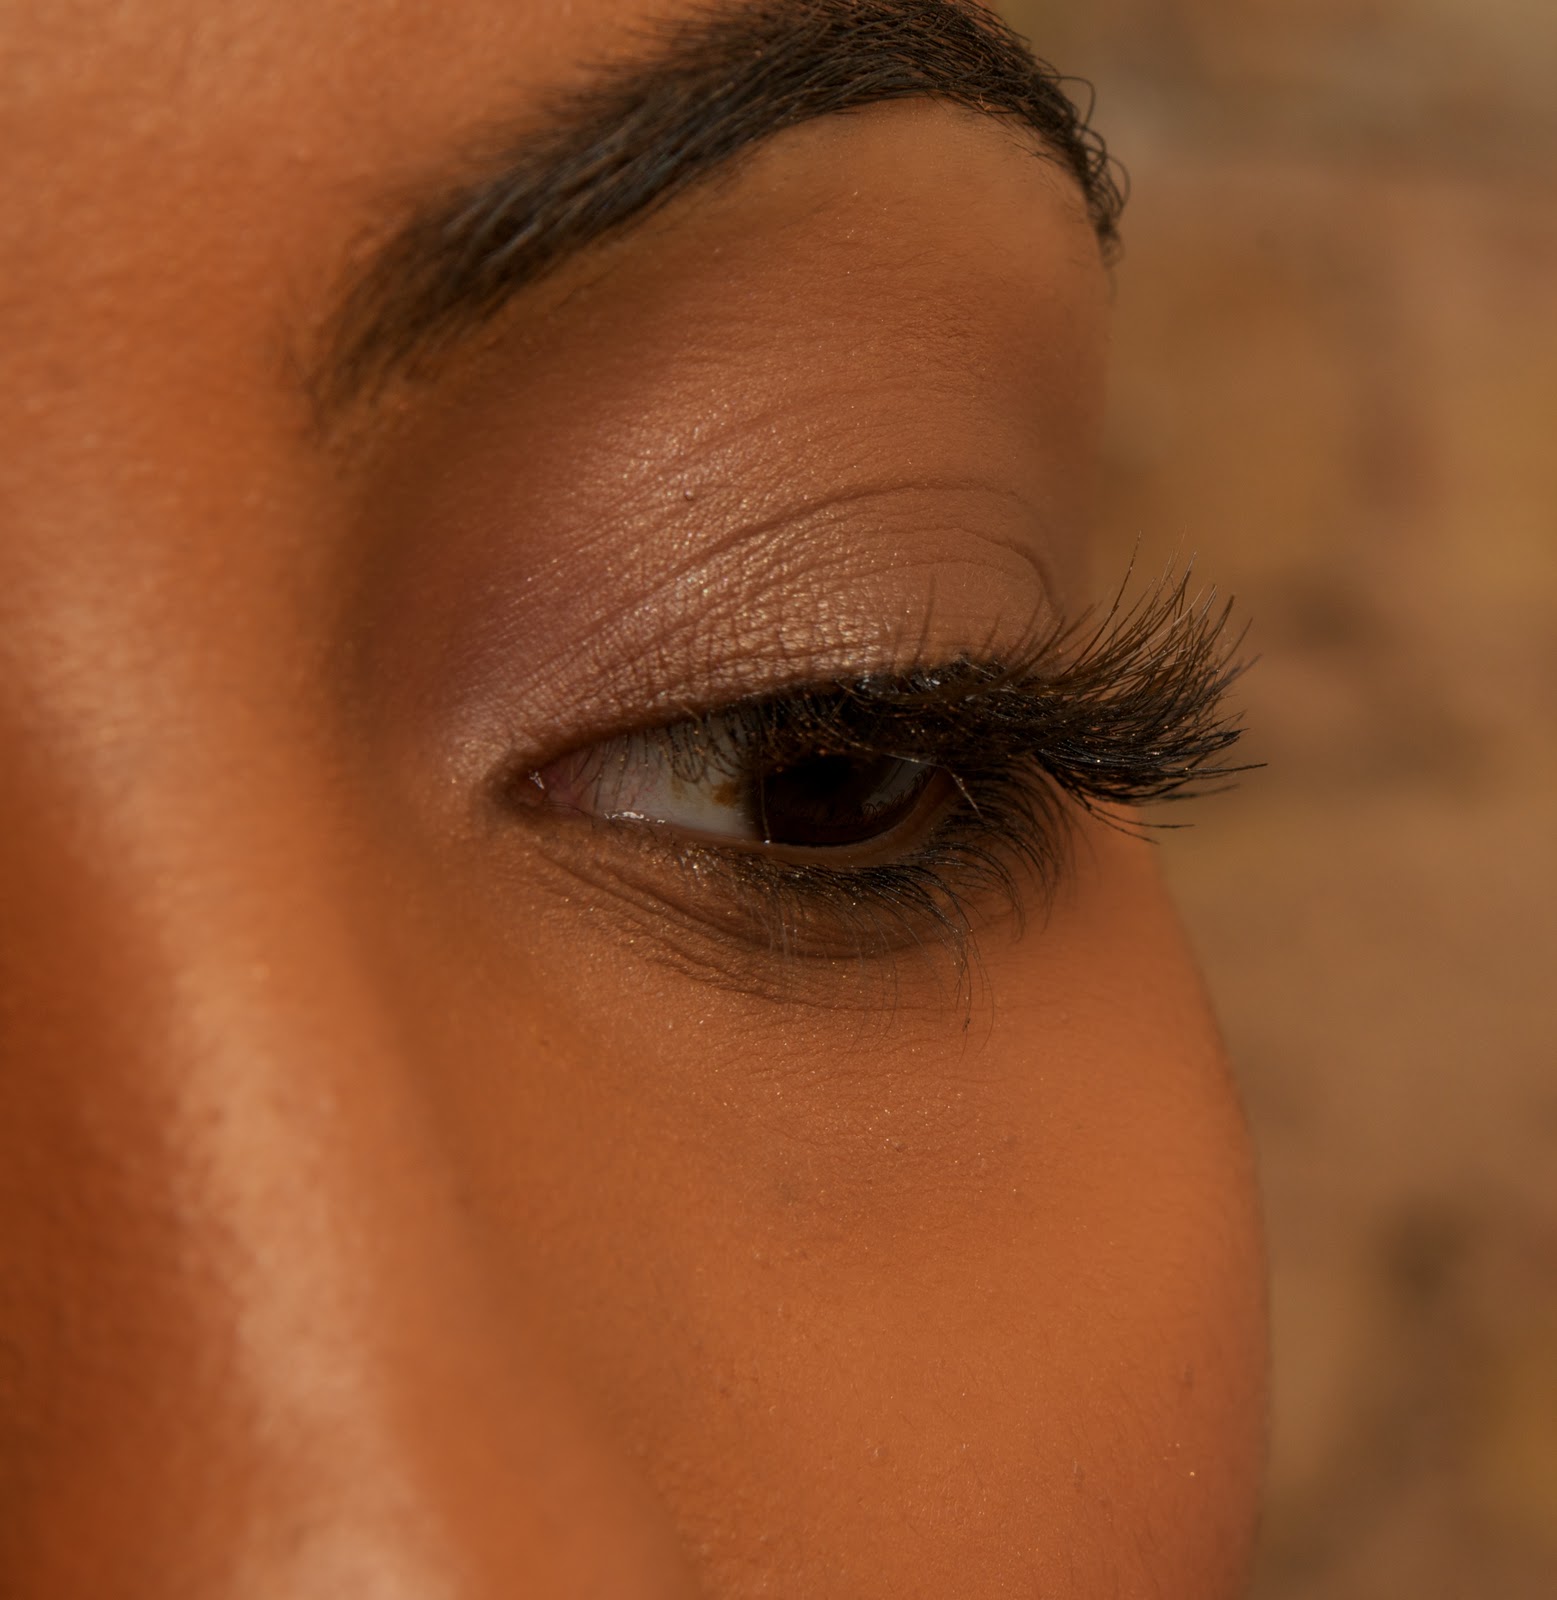
Have you always loved the idea of wearing false eyelashes but hated the thought of them looking uneven or coming un glued during your night out? Or maybe, you think the false lash look is just too, well, false for you. Have a go with these, they are way easier to apply than single strip versions and give you an amazing thick, full lash line that is also really natural looking. Here is what you will need...


Duo is by far the best false lash glue and is the best place to start for lashes that will stay all day and night long.  They make two versions and this is my favourite, it goes on grey but dries out black so even if a little glue strays as long as you are wearing a top line (see here for a little tutorial) no one will ever notice.  Tweezers (these are my favourite) are a must for applying individual lashes as they stop your finger tips getting sticky and they allow you to place lashes precisely in-between your own.  Finally pick your favourite style of individual lashes, you will be able to find them really cheaply on the high street however if you prefer something a little more luxurious, try these from Shu Uemura who have an incredible array of Japanese lashes for every possible occasion.


Applying the lashes couldn't be simpler.  Make sure your eye make-up is complete and you have already applied a nice clean coat of mascara.  Squeeze a little drop of glue onto the back of your hand. 


Pick the lash from the packaging with your tweezers and dip only the very end into the glue you just squeezed out.


Look down into a mirror and carefully place the lash as close to your own lash line as possible starting in the outer corner and try to fill in the gaps of your natural lashes.  For a dramatic look work all the way along your lash line, you can even trim the lashes so the ones closest to your inner eye are shorter gradually getting longer as you move outwards. Or for a more natural look you can just put five or so lashes on the outer corner of your eye.


Btsiete only has four individual lashes on each eye which gives a beautiful silhouette and works really well if you want a natural, no make-up look with an added hint of drama. Pretty huh? Experiment with lashes and see how you get on, they really are much less hassle than you would think.

(Thank you once again beautiful Btsiete and the super talented Kye Corfield for his mad Photography skills)

Coming up next, one of the most fantastic skincare products I have ever found, did I mention I LOVE beauty shopping in the United States!  

Friday, 2 September 2011

Work It Curl

One of the easiest ways to mix up your look is to have quick hair re-style.  Even without cutting or colouring your locks this is an easy trick to use if you fancy a change.  Curling your hair using straightening irons is so simple and effective that once you have got the technique right you will use this styling method all the time.  To begin with you need to shampoo and dry your hair.  Next, make sure you use a heat protectant or blow dry lotion as heated styling tools can do some serious damage to your mane that simply can't be rectified.  Especially if you have coloured hair as this is even more susceptible environmental damage. I like this particular product.

(image via)

It adds really good body for a blow dry, keeps curls stable and offers a good barrier between your hair and the 180º heat you are about to introduce to it!  There are so many of these products on the market now that you will be able to find one in your local chemist or drugstore. Next up you need a pair of these.

\
(image via)

I love using GHD's they have adapted the shape of the irons recently in order to aid curling by rounding off the edges of the casing.  The ceramic plates mean your hair glides through whilst straightening and curling with no pull or breakage, they heat up quickly to such a temperature that the look you are trying to achieve is done so with only one or two sweeps of the irons, this really minimises heat damage.  They are also available in different sizes suitable for different lengths and thicknesses of hair and different curl size.  Of course there are many other brands available.


Leslie has such fantastic long hair in great condition so we decided to quickly curl the ends just to add a bit of movement.  Different sized irons obviously create different sized curls, we used the small GHD's so the curls were quite tight and defined but larger irons will create a softer, wavier, beachier, look.  Section your hair really randomly the only thing you need to make sure is that the sections you gather are all a similar size but you really don't have to be precious about doing this it is meant to be really quick!  Hold the straighteners at the point where you would like the curl to begin, at the root, half way down or perhaps you just want to curl the ends under to neaten off a pretty sharp bob.


Once you have decided where you want to start, close the irons and start to pull them gently down along the length of your hair twisting as you go....


Keep twisting, depending on the length of your hair perhaps you need to swap hands half way to reach the end, keep twisting....


As you are twisting allow the hair to wrap itself over the outside of the irons this is what really defines the curl, or the Farrah Fawcett style flicked out layers, or curling under your fringe (bangs) the ways to use this technique are endless, have a play around and see what it can do for your cut....


Keep twisting right until the end, Ta Da! it's so easy, keep sectioning your hair and continue this way and when you have curled to your hearts content, you should have achieved your own variation of this....


Pretty and simple, we just quickly curled the ends in order to add a little bit of movement and texture but for a far more dramatic change we could have used the large irons and started from the root.


Have a go with your straighteners and see if you can discover an update for your style, sometimes they can make a world of difference if you are trying to grow out a cut.

(Once again, thank you so much to the beautiful Leslie and my super talented friend Kye Corfield)


Please don't forget to subscribe and follow us on twitter @56torivington for all our latest updates!

Have a fantastic (curly?) weekend.

Wednesday, 17 August 2011

Feeling Blush

Very easy highlight and contouring techniques.

Continuing our theme of really simple make up tricks it is time to talk cheeks.  How about a quick daily dose of colour, maybe accentuate your cheek bones a little bit and even add a touch of slimming trickery in there too, all achievable in about two minutes flat with a little know how.


This is Btsiete, I know, I know gorgeous huh?! She is wearing a tiny bit of concealer just in the areas needed in order to have an even skin tone to work on.  The steps I am going to show you are to be done after foundation and concealer if you use it.  Once again less is definitely more when applying highlighter, blush and for some, contour, if you fancy experimenting with a little shading.


Lets start with highlighting. There are so many products available that its difficult to know where to start.  The above product is a good place.  It is MAC mineralize skinfinish in soft and gentle and is a must for me both personally and professionally.  If people compliment my skin its actually this product they are complimenting i'm sure!  It is suitable for most skin tones as long it is used VERY sparingly.  For most facial sculpting work I stick to one type of brush, the MAC 168.  Perhaps you have this one, something similar or you could always just use your fingers.


A highlighter is always used in places on your face where light would naturally hit if you were lit from above. So, a VERY delicate sweep across the highest point of your cheekbone heading up in the direction of your temple (but don't go quite that far).


Another delicate sweep on your forehead in two places, below your hairline at the point above the arch of your eyebrow, Just where Btsiete is holding her brush in the picture above.  This doesn't work for everyone so have fun experimenting to see whats best for you.  Some people like to sweep the product lightly down the length of their nose in order to give the illusion of slimming, have a go, does that work for you?


I like to place the smallest amount on the chin as well, this can however make a girl look a little sweaty dependent on skin type so be careful (it tends to work best on paler, drier skin to give the illusion of a little more "dewyness").  Once again though, experiment with your products and see what works best for your face shape and skin type.


On to the blush.  When it comes to applying blusher on yourself try and steer clear of a harsh 80's style stripe, it is always so much nicer for day to day make-up to barely look like make up at all.  Cream blush is more forgiving if you feel you have been a bit heavy handed and is a good formula to use with your fingers.  Btsiete is using a cream blush here with a MAC 188 brush.  Apply the blush on the apples of your cheeks and blend, blend, blend outwards (you are now working beneath your highlighter but it should never look like two separate stripes).  I plan to do a future post discussing which blush colours work best for various skin tones, as it is very easy to get this really wrong.


Btsiete is blending her blusher in lightly with the tips of her fingers, remember, you don't have to use a brush for any of these steps if you don't want to.


Contouring is up next.  This is a technique that professionally I use all the time but isn't necessarily something people do at home.  The above product is a MAC pro mini concealer palette.   This product worked great on Btsiete, however I could have used a cream or powder blush in a tone such as, Mac - Format.  Another good colour for contouring is MAC - Margin.  Most products on the market are multi use, you probably have the perfect thing in a palette somewhere that you never thought would come in handy!.  The trick is to find a product, even a concealer or bronzer in a colour that is perfectly complimentary to you skin tone but a touch darker.  This is because we are going to carefully create some shadows.


Using a brush (best with powder based products) or your fingers (best with cream based products) suck in your cheeks and blend your product carefully in the dip that is created.  Blending is key because this can look pretty silly if it is noticeable.  When unnoticed it is a genius little trick used on film sets and fashion shoots the world over.  Once blended it should sit perfectly beneath your blusher and totally contrast your highlighter.  Remember sweeping the highlighter down the length of your nose, well a whisper of your contouring product either side that can work slimming wonders.  Have fun with your products and keep experimenting until you find what works for you.  Add a slick of mascara, a touch of gloss or balm and your good to go!

 (images via the brilliant Kye Corfield, and many thanks to absolutely gorgeous Btsiete)

Less is more when it comes to everyday make-up, Btsiete simply looks really fresh.  A perfect fuss free summer make-up.

Monday, 18 July 2011

Very simple eyeliner

I am always overwhelmed by the number of women who ask me how to do the very basics of make-up application. So I decided that I would start to put together a online manual, working as simply as possible through the processes of make-up application starting at the beginning and working our way through to the more complicated business of individual eyelash application and oscar-worthy hairstyles, to name just a few projects.


This is my friend Leslie, Parisian, beautiful and make-up free. I am a firm believer in keeping make-up simple on a daily basis using no fuss techniques and minimal products to enhance your look, certainly not to overwhelm. However, I am the advocate of quite the opposite on a night out or special occasion, where in my book, anything goes!

My first rule is if the make-up you have applied does not enhance your natural beauty, you are doing it wrong!

A very simple slick of top eyeliner is one of the easiest ways to polish your look with minimal effort.


In doing this you will create the illusion of thicker more elongated lashes with one flick of a brush. Brilliant. Here is what you are going to need.


I have always found gel or cream eyeliners the easiest to use, if you make a mistake this type of product is the most forgiving and is easily able to be blended back into shape. This MAC one is my favourite but with so many options available these are great too, Stila, Bobbi Brown and if you would prefer a drugstore brand this is just as effective.


The biggest mistake most people make when applying their eye make-up is staring into a bathroom or vanity mirror straight on, this makes it nearly impossible to achieve anything but a messy uneven line. Hold a compact mirror beneath your chin and about two inches away from your face and look down into it. This means you are working on an eyelid that is almost closed and not blinking about all over the place. This also eliminates the need for you to pull your eyelids about with your fingers, a terrible thing to do with the most delicate skin on your face.


Then using the thinest, pointiest eyeliner brush possible, with the tip dipped lightly in your gel. Place the point with the product as close as you can into the inner corner of your eye. Use your eyelash roots as your guide and as a rest for your brush and pull the product across your lash line in one clean sweep. Then if you are feeling brave open your eye up a little, look head on into your mirror and fill in as close to your inner corner as possible. Voila, you should have a very neat eyeline. If you would like something a little more dramatic use the line you just drew as a guide and build up another layer. The better you get at this the more experimental you will feel like being, I will show you how to do the "flicks" in a future tutorial where we will be looking at vintage inspired hair and make-up.


You don't have to purchase really expensive make-up branded brushes to achieve this look.
One of my guilty pleasures is to go to my local art suppliers and pick out a ton of new tools. Of the two brushes above, the blue one, which has been used endlessly, is not only made out of the exact same hair as the other one but was a total snip at about £1.99 ($3.00). At that kind of price you can afford to experiment with different sizes and shapes and work out what is best for you, without compromising one bit on quality.


If you didn't get your eyeliner right first time don't worry just add a little depth and a little more drama by blending a tiny smudge of dark eyeshadow such as this along the line, which will eradicate any imperfections, a sweep of mascara and your good to go. Very simple eyeliner, vey big difference.


We had such fun doing this tutorial, I hope you guys have fun experimenting with your eyeliner, and of course you don't have to stick to classic black!

Don't forget to follow us on twitter @56toRivington and tell us what you think!

(All the images were shot by my talented friend Kye Corfield who I would like to thank, along with my gorgeous friend Leslie)